Showing posts with label DIY. Show all posts

Thursday, September 19, 2013

DIY: Placemat or Pillowcover

With my new job I haven't tackled much in the DIY/Home Décor arena lately.  My house tends to be messy enough without projects.  But I did recently do a small update copied almost entirely from my Mom.  Mom is changing up the color scheme in her living room.  She's had two pillows that look like this for almost a decade and while she still likes them - they just don't "go" anymore.


Enter a couple clearance placemats from Target.  That's right PLACEMATS!  Total cost $8.


 So being the big ol' copycat that I am, I immediately get on the Target website cause I have these two pillows that I settled for and have never loved:


Obviously I can't get the exact same thing as Mom cause those don't go in my space (and would be WAY to matchy for me), but I did find these placemats on the Target website (one is shown from the front, the other from the back).


 I got really excited and ordered immediately.   Online they came in sets of 4/$16 so I'm out a little more money than Mom, plus my old pillows were too big to reuse so I had to buy inserts ($5.99 at Tuesday Morning) for a total per pillow cost of $14.  Not bad for something I love.

I'm terrible at taking process pictures - essentially Mom and I just ripped out three fourths of the bottom seam, folded the new pillow up and pushed it in, arranged the new pillow correctly, and then re-sewed the seam (Mom did the re-sewing).  If you were going to put them somewhere with high traffic and a lot of use I think it would be pretty easy to add a zipper when you rip out the seam.   That way you could wash the cover.  Anyway here's the final product in my house.

 
And here's the view from the couch.


Has anyone else tackled any super easy, very satisfying projects lately?  Seen any genius pillow ideas on Pinterest?


Monday, March 18, 2013

The Devil's in the Details

I love DIY but I struggle with the little stuff.  Paint a room, picking a sofa...cake.  Finding accent pillow, curtains, and rugs......not my strong suit.

In my previous post about painting my kitchen I mentioned that I chose the paint color based on the hand-me-down patio door covering I got from my mom.  That post was getting fairly long so I didn't include a pic.  Well here it is.


It doesn't show up in this picture but there's a green patterned band on either side of the red.  Check out the inverted box pleating at the top of the curtains - my mother spend a long time making this (and about 6 more like it), and just switched out to gray. 
 
Up next in the accessories department - covering up the table.  Refinishing that table is on my DIY to-do list, but that's at least two months away.  My mom (can you tell that she's awesome?) found this tablecloth at Gordman's for $5.  The picture distorts the color a bit, but I swear it goes.


And the final addition to room (at least for awhile) - I found this rug on Joss & Main.  I think it was $30-$40.  It's not the highest quality rug, but the price was right and the colors were perfect.


I still have quite a bit to do, but it's really starting to come together.

Kitchen when I moved in:


And now


The most pressing not too expensive items on my to-do list:
  • Re-finish table/chairs and recover chairs
  • Update window covering over sink
  • Finally finish the crown molding around the light fixture


Monday, March 11, 2013

Kitchen Revisited


It feels like it's been years since I last posted about anything home/DIY related, but I've finally compiled my pictures and I'm ready to share some updates.

Last time I posted anything kitchen related I was lamenting my cabinet staining FAIL.  My cabinets didn't quite come out the same shade.


But restaining the cabinets was such a HUGE undertaking that I just didn't have the energy to fix it immediately.  I decided to focus on a few other things in the kitchen that were bothering me.  First up the maroon paint (seriously how dark is it in there?).  I was planning to paint it blue, because I'm in LOVE with this granite and it has a blue vein through it.


I did a little shopping and I think this granite will be hard to find and since the only chance I have at affording granite is if I can find a remnant I like,  it's very unlikely.  So back to color.  If I wasn't going with blue then maybe yellow?  Turns out my mom no longer likes the window coverings that she made (and spent a TON of time on) for her living room.  I've always liked them and snagged one to replace the vertical blinds I currently had on the patio door.


Anyway her curtains made me settle on a light green.  I struggle with light colors - I tend to paint with saturated hues.  I put about 6 slightly different samples on the wall (can't find the picture anymore).  Crossed my fingers and picked a shade and voila!


I am in love with the green.  Its amazing but the two tone cabinets don't drive me nearly as crazy now that the room is no longer maroon.  I still have quite a bit left to do in the kitchen, but it's awesome how much of a difference paint makes.


Kitchen at the very beginning and then after restaining cabinets and repainting.


Monday, October 29, 2012

My first DIY fail

A few weeks ago I mentioned that I was refinishing my kitchen cabinets.  They were in good shape, but I was sick of medium oak - it's EVERYWHERE in my house. 
I decided against painting because I wanted to keep the wood grain, but knew that staining would be considerably more work since I would have to strip off the existing poly.  Plus I'd heard that poly is not fun to apply.

I chose a dark (but not black) stain.
Anyway over my last week of vacation (from work) I took all the cabinet doors down.  I bought a power sander and sanded all the flat surfaces.  Then applied the stripper to the parts that couldn't be sanded (the stripping had to happen in shifts because I didn't have space to lay out all the doors at once).  And then scraped the stripper and poly off the cabinet doors - it was NOT a fun process.

I used this stripper - no smell and I think it worked pretty good.
 
The doors took quite a bit longer than the cabinet boxes because I could just sand 95% of the boxes eliminating the time consuming stripping process.  That's why you've already seen this pic.

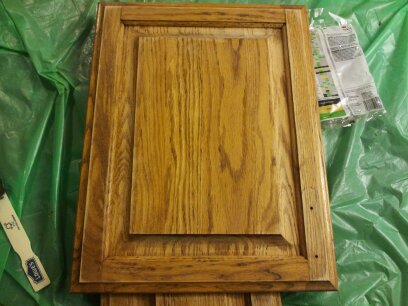
Once I finished with the boxes I focused on the doors.  I used the sock applicator method.  Basically I put a rubber glove on my hand, covered the glove with an old sock and dipped the hand into the stain and then applied to the wood.  The first time I waited to wipe the stain for 10 min cause I wanted it to be darker.  Yeah in 10 min it was too dry and ended up streaky - I had to do those 7 doors all over.  My advice is to apply the stain to the whole door and then wipe immediately.

After two coats of stain (front and back) I applied the poly with a brush.  I used Rustoleum Poly and LOVED it.  I was careful to brush it on really thin, but I didn't have any problems with visible brush strokes or drips.


Finally I put it all back together and here it is...

The good news is that I'm very happy with the color of the cabinet doors.  The bad news is that they are a different color than the boxes.  I think that since the stain was applied to the cabinet doors when they were lying flat more was absorbed.  And since I did the doors in the garage, I didn't notice the difference in color until they were up.  It's even more obvious up close.


Once Christmas season is over I'm planning to pull the doors back off and re-do the boxes (and a couple of the doors), but for now I'm going to live with it.  Sigh.  I am going to paint the walls very soon because as much as I HATED the maroon with the medium oak, it's even worse with the darker cabinets.


Friday, October 26, 2012

Updating cabinet hardware

I'm working on updating my kitchen cabinets.  I posted a couple quick pics in this post and I'll have an indepth look at the staining process next week. 

In addition to restaining my cabinets I wanted to update the hardware.  Unfortunately I'm not entirely sure what I want the hardware to be because I haven't finalized what I'm doing with a few other kitchen elements.   Currently they are brass (yuck).  Brushed nickel seemed like it would clash with all the brass elsewhere in my house (damn you eighties home decor).  As I've been updating light fixtures I've been going with Oil Rubbed Bronze, but since the cabinet doors were going to be dark I didn't think that would give enough contrast.  My mom suggested Copper and I thought that might be an interesting option, but didn't want to sink $60 - $100 into new handles/pulls and then not like it.


I took off the old handles (and established that they are a very standard size).  Tossed the back plates and decided to try spray painting the existing handles copper.   I used Rustoleum's Spray Primer, Hammered Copper Spray Paint, and Spray Poly.


I spaced nails out on a 1 by 8 so I could prop 15 handles at a time up to be painted.  Then I sprayed 2 thin, even coats of primer, 3 coats of paint, and 2 coats of Poly onto the handles. 


Here are the handles on the doors.  You even get a sneak peak at the final staining outcome.


I'm extremely happy with how the handles turned out.  Someday I may invest in some actual copper pulls, but for now these work just fine. 


Wednesday, October 24, 2012

King Me!

I just got my new bed - 5 months and 3 cancelled deliveries after I originally ordered it.  I first posted about my Master bedroom here

As a refresher, this is what my bedroom looked like with the old bed.


 And here it is with the new


I love the king size bed.  I still feel like I have enough space to manuever in the room and love the extra sleeping space (and so does Gizmo).  Side note - I bought a new camera too - that's why the colors look so different.
 
I'm struggling with what to do with the wall above the bed.   I have these two that I think would go colorwise.


The head board is so high that I'm afraid any art I hang will look weird cause you're suppose to hang art at eye level.   Has anyone else had this issue?  Ideas?
 

Sunday, July 29, 2012

Bedroom: Country to dorm room to bright and clean (I hope)

So the previous owners of my house tended to go for country decor.  So when I moved in, even though I didn't completely know what direction I wanted to go in, I started painting to to erase the country from my mind.

This is was the Master Bedroom looked like when the previous owners lived here.


The second I took possession (before moving in) I painted three rooms starting with the Master.  I also added shades and that solo piece of art on the wall.   I picked that out and had it framed living in an apartment a couple years earlier.  I love it and it's how I chose my paint color. 

This is what the room has looked like for three years.  Definitely better than country, but it's pretty barren. 


A couple month ago I ordered a new bed (KING - I don't care if it's takes up the whole room).  It will arrive next week.  In preparation for it's arrival, I started looking for new bedding and curtains (finally).  I found the comforter set a Macy's on vacation because Omaha doesn't have a Macy's :(.

Curtains have been a struggle.  I refuse to spend a lot of money but nothing has worked with the comforter.  Walking through Garden Center these caught my eye.

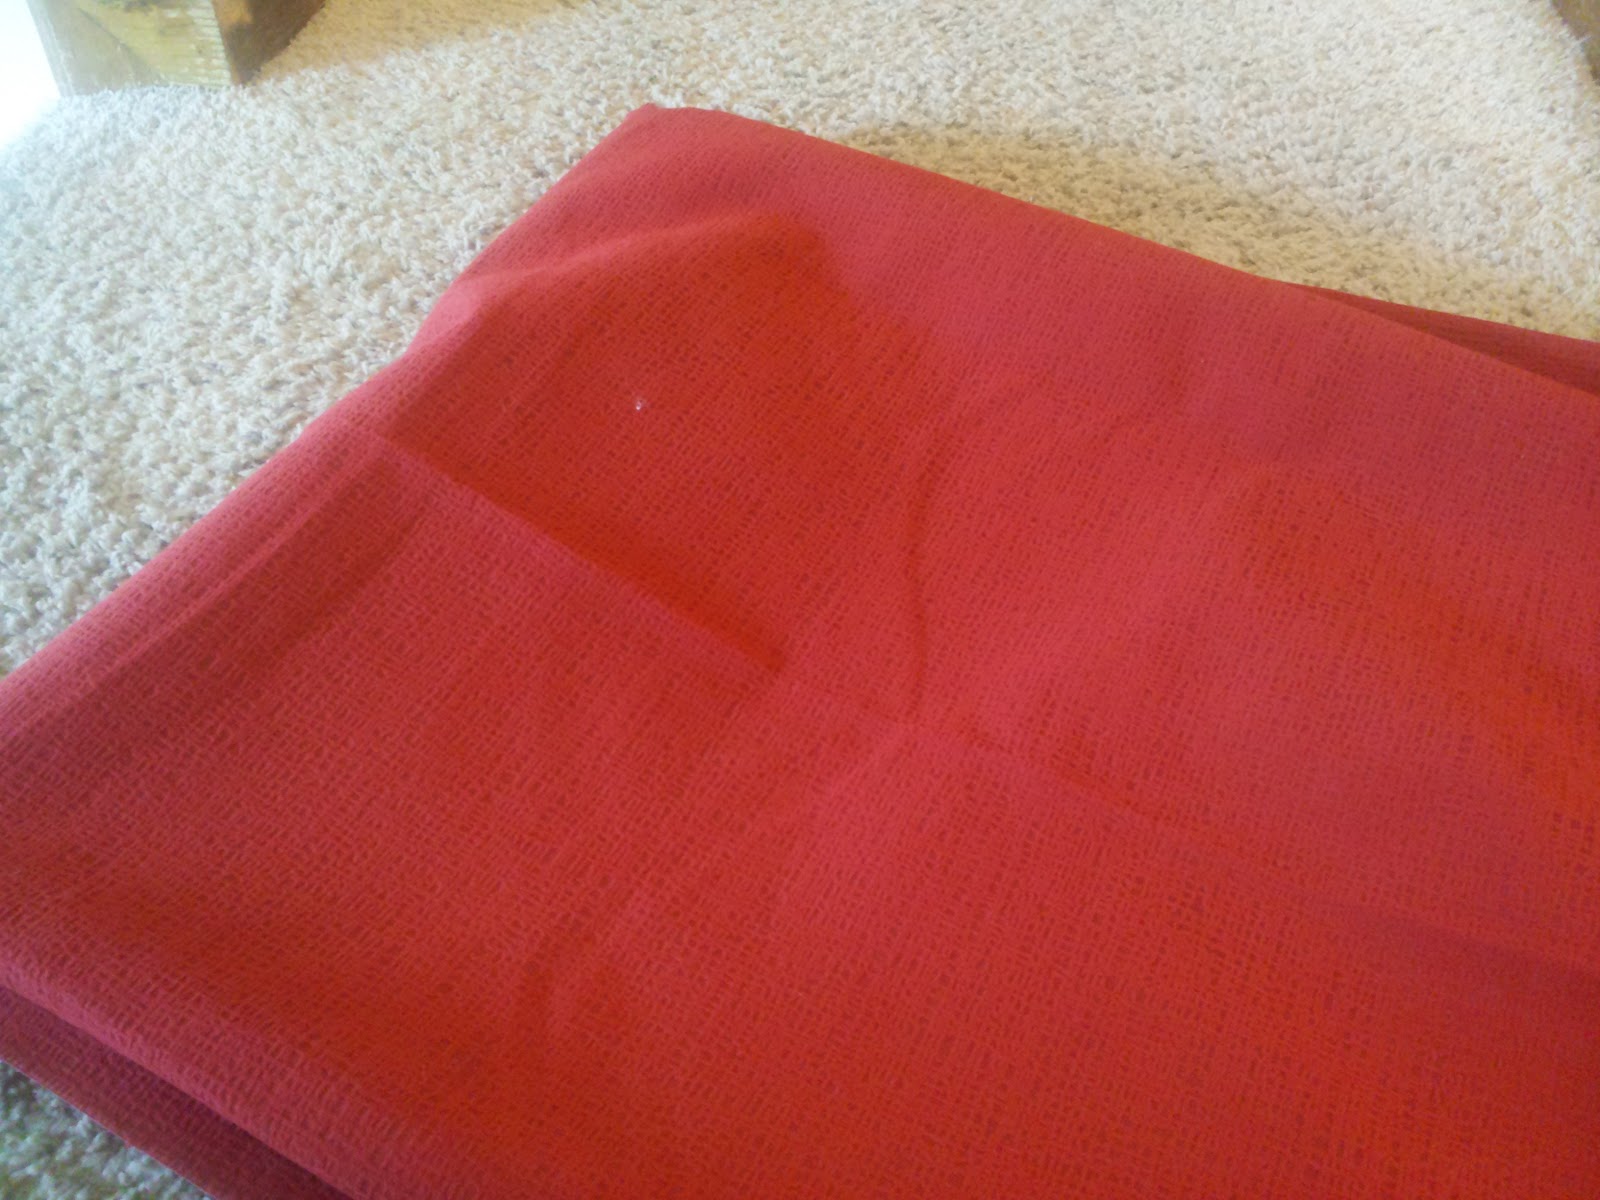
Yeah I have a red addiction.  I picked them up because I loved the slight pattern (seen in the second picture).  Lo and behold, the back of this lovely red fabric looked like this


I was pretty sure it would work and even if it didn't - The Garden center had two 2 yard pieces for $5.99 each.  So even if the gray was totally wrong I would only be out $12. 
Anyway,  here's the master bedroom with new comforter set and curtains (same bed).


I still have quite a bit to do, but at least now I have a direction.  I probably will bring a couple pops of red into the room - possible a pillow and/or painting an entertainment stand.  I also need something on the wall above the bed, but that will have to wait until the new bed arrives so I can be sure of the size.


Sunday, July 15, 2012

Stenciling, Stenciling, yeah I'm still stenciling...OK done

UPDATE of my post from last week cause I finished stenciling!

Here's the finished wall with the desk in place:


That chair in the corner needs a real slip cover but for now I just threw a white blanket over it.  I am thrilled with how the stencil turned out, but it will be a LONG time before I try a stenciling project this big again.  I have pretty close to 20 hours into that wall.

Also tool suggestion.  On Young House Love they used various size spouncers.  I started with spouncers and ended up raiding my scrapbooking supplies and using a couple sizes of daubers.  I think I could have cut a few hours off the project starting with daubers and gotten a cleaner result.


Now I really feel like I need a decent camera - those pictures are not very good.
_______________________________________________________________________________________________

So my favorite DIY blog, Young House Love, is cohosting a summer Pinterest Challenge.


Basically take something you've pinned on Pinterest and put your own spin on it and get it DONE, linking back to the original source of source.

Well back on June 10th (yeah a month ago) I started stenciling a focal wall in what will be my office/craft room.  I'd pinned this from Young House Love and searched stencils, but couldn't find anything I liked better so I'm a big copycat.  The only part of this I can say is my own spin is that they were going for understated and my color contrast is pretty bold.

I did not get as far as I planned cause stenciling is time consuming and tedious.  I SHOULD have gone home every night, worked for 3 hours, knocked out a few more stencil repositions and been done by now, but it was in a room where the door closes so it was out of sight and basically I'm just a huge procrastinator.  So the wall looked like this for a few weeks.


Anyway when I saw the Pinterest Challenge on Young House Love last Tuesday I decided that I was gonna get it done (I've had the stencil pinned for a long time so it counts I think).  I spent most of July 4th stenciling (Yay! for 100 degree weather and no desire to leave my house).  And got this far:


I had planned to continue stenciling Thursday and Friday evenings, but my air conditioner was struggling and it was 81 degrees in my house.  All I was up for was chillin' in my shorts and tank top and reading/watching TV ( and still sweating).  I started stenciling again briefly on Saturday before deciding that my stencil needed to be cleaned before continuing so that's as far as I've gotten.

I didn't quite complete the challenge, but decided to go ahead and post anyway.  Maybe having it up here will give me a little accountability to keep working consistently!  I'll definitely repost once complete.  The desk I painted will be up against that wall.

Materials for this project

1 Stencil
1 pint Behr Pointsetta flat enamel paint
1 pint Behr Irish Mist flat enamel paint


Spouncers - assorted sizes (I got mine at Michael's)


Daubers  - I had these in my scrapbooking supplies and they were very useful on the curved line sections of the stencil.


Frogger painter's tape
Krylon Easy-Tack repositionable Adhesive